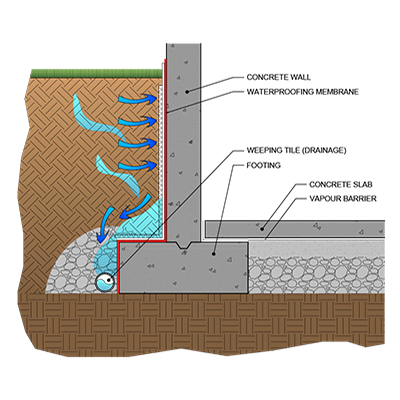
Foundation Waterproofing (Below-Grade Walls)
TOOLS
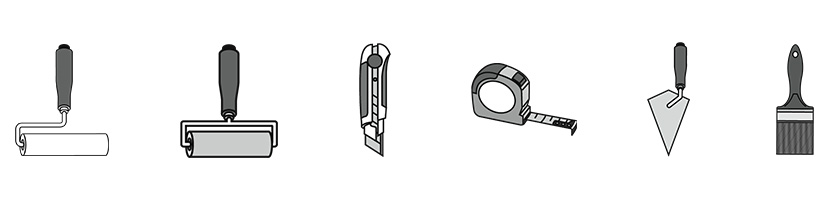
- Paint roller
- Smoothing roller
- Utility knife
- Tape measure
- Trowel
- Brush
PRODUCTS REQUIRED
DAMPPROOFING AND WATERPROOFING
There are many choices to make when it comes to protecting your foundations. First, you need to decide whether you are dampproofing or waterproofing.
In the context of below-grade protection, dampproofing refers to treating a surface to resist the passage of moisture in the absence of hydrostatic conditions. RESISTO has a perfect dampproofing solution in the form of its which can be combined with a DRAINAGE BOARD in order to facilitate the drainage of water.
Waterproofing refers to treating a surface to prevent the passage of water under hydrostatic pressure conditions. It provides protection in case of water accumulation when drainage at the bottom of foundation walls doesn’t work properly.
Positive-Side Waterproofing
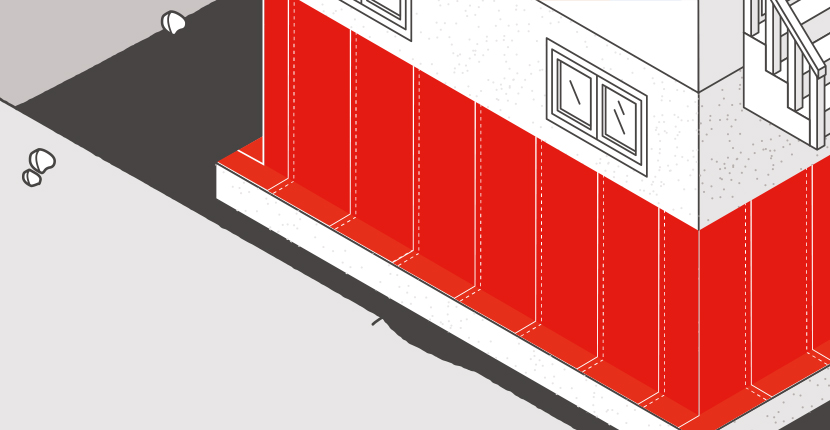
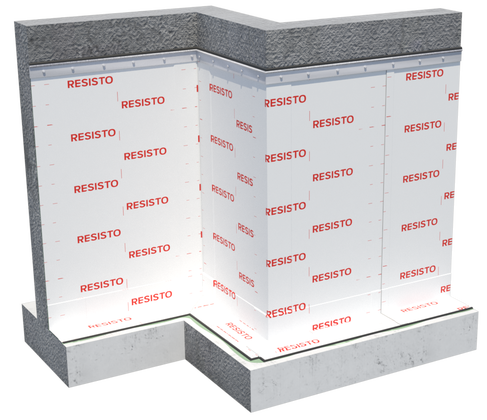
Positive-side waterproofing consists of installing a waterproofing membrane or layer between the substrate to be protected and the source of water. This type of application is commonly referred to as exterior-side waterproofing, as the waterproofing materials are applied to the outside of the building.
Positive-side waterproofing is generally seen as the best option to pursue and tends to be the most successful, since it keeps water out and actually benefits from the external water pressure that is applied on the membrane. It also allows design teams to inspect all lap joints and defects with full visibility.
CONDITIONS OF APPLICATION
The minimum application temperature is 10 °C (50 °F). For application in cold weather, RESISTO recommends the use of “low-temperature” membranes which can be installed at -10 °C (14 °F). However, it is important to condition the membrane at a temperature of at least 10 °C (50 °F) before installation.
RESISTO recommends the vertical installation of waterproofing membranes on foundations because it is the simplest working technique and provides the best installation results.
Rolls should be stored upright, with the selvedge side positioned upward. If the products are left outside, place an opaque protective cover on it once the cover supplied at delivery is removed. This way, the rolls will be protected from the elements (weather and UV rays, in particular).
Substrate preparation is generally key to the success of any waterproofing system. If the substrate isn’t adequately prepared, the proper application of the waterproofing system is next to impossible.
Do not begin any part of the work until the surfaces are smooth, dry, and free of ice, debris or any material that may impair the adhesion of the membrane in accordance with the Resisto instructions and recommendations. Do not install materials in rainy or snowy conditions unless protected from the weather.
All cracks and holes caused by formwork require the addition of a solid substrate. Seal joints and cracks that are less than 6 mm (1/4 in) with ELASTOMERIC SEALANT. Larger cracks should be treated with suitable concrete repair products. Also make sure that there are no structural problems that could cause other large cracks. The membranes are not designed to retain the structure in the event of movement of the foundation.
If the substrate is concrete, make sure that the curing period was long enough before installing the membrane. It is recommended to perform an adhesion test before laying membranes.
NOTE: If a foundation coating has recently been applied to the foundation walls, please contact a RESISTO representative as the RESISTO EXTERIOR PRIMER (which is solvent-based) could dilute the coating and reduce adhesion to the surface.
Use a chalk line to draw the perimeter of the membrane application surface. The membrane must be installed under the ground level and should not be visible when the job is completed.
Mix the primer well before application.
Apply a coat of RESISTO PRIMER with a brush or roller on a clean, dry surface. On a surface composed of insulated concrete formwork (ICF), the use of a primer may prove necessary under certain conditions (see the product sheet for more details). Only the H2O PRIMER can be used on polystyrene surfaces before installing the membrane. On concrete or wood surfaces, the use of the EXTERIOR PRIMER is required.
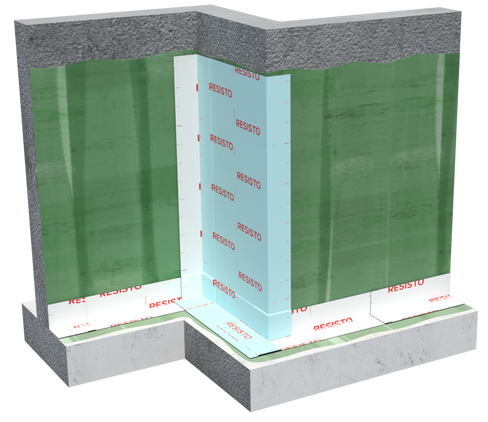
Prepare the installation of the membrane on the corners of the foundation. When a corner is to be covered with a SELF-ADHERED WATERPROOFING MEMBRANE, first apply a gusset (a small membrane piece to be cut) to ensure its watertightness.
For concrete or treated wood foundations only: Apply a bead of a maximum diameter of 1.2 cm (0.5 in) of RESISTO ELASTOMERIC SEALANT at the junction between the footing and the foundation wall to ensure optimal waterproofing after the installation of the membrane on the transition zone.
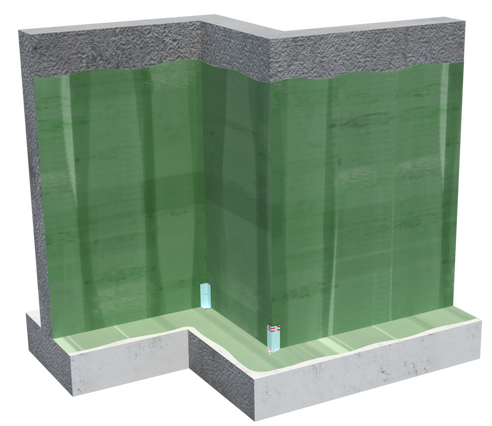

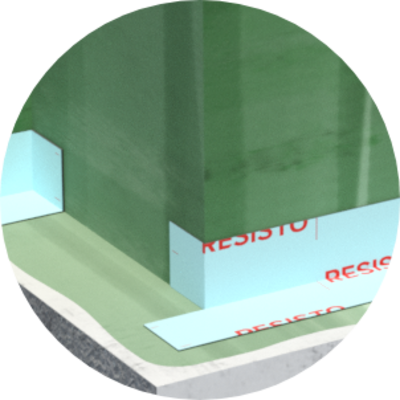
Apply reinforcement pieces of 30 cm (12 in) with 15 cm (6 in) on the wall and 15 cm (6 in) on the footing to the entire foundation. While removing the protective film, apply pressure to the membrane using a small rubber roller to increase adhesion. Make sure to cut the end of the membrane (in the centre lengthwise) which will be folded back on the corner of the foundation as shown.
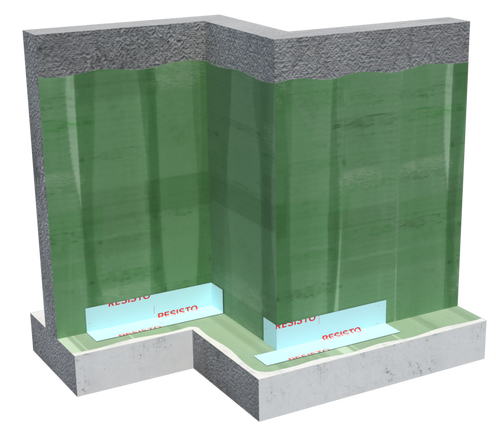
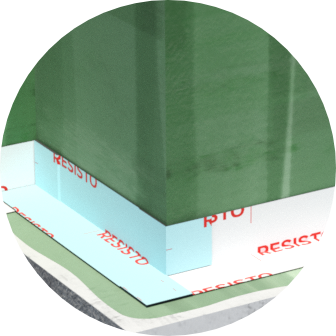
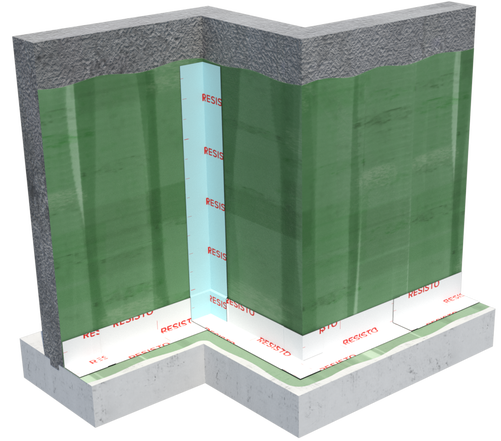
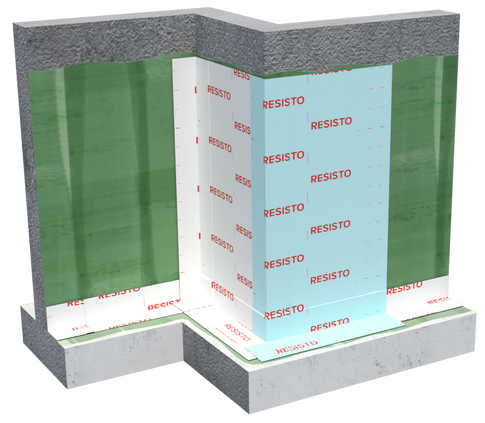
Then install a membrane on each inside corner with a 6 in (15 cm) overlap. All exterior corners must be protected by two layers of membranes. On a surface of about 10 cm (4 in), remove the protective film of the underside to bond the upper part of the membrane on the support. This step allows the membrane to hold on its own on the foundation.
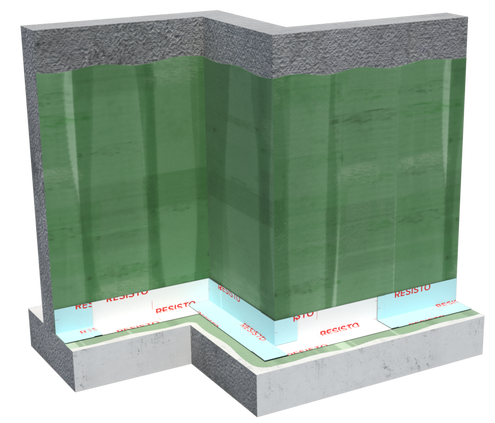
Make sure that the whole membrane pieces completely cover the joints of the reinforcement pieces. Allow a minimum overlap of 3 in (7.6 cm) between each membrane strip (a dotted line printed on the membrane indicates the location of the overlap). At the bottom of the wall, the membrane should cover two thirds of the footing. It must also overlap at least 1 in (2.5 cm) of the reinforcement strip previously installed.
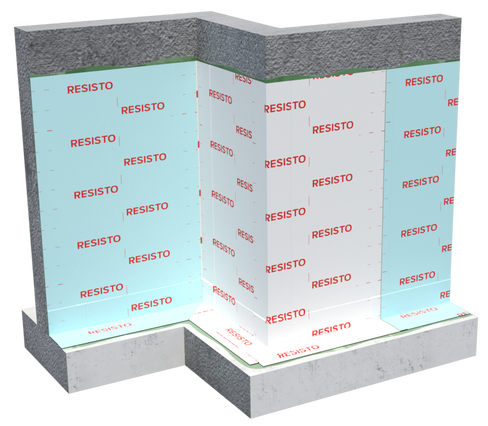
To waterproof concrete or wood foundations, it is recommended to mechanically fasten the upper termination with metal borders and seal it using RESISTO ELASTOMERIC SEALANT.
Also apply a joint of RESISTO ELASTOMERIC SEALANT on the footing, all around the foundation, to prevent any water infiltration.
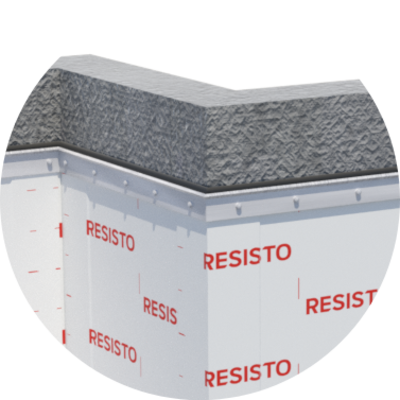
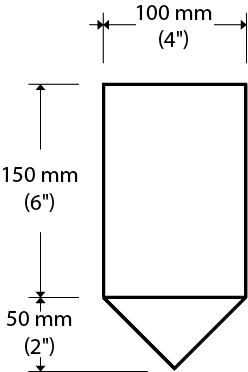
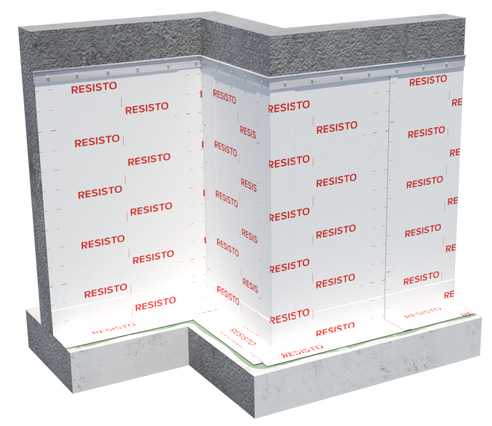
On a surface composed of insulated concrete formwork, allow the membrane to exceed the finished ground level by 75 mm (3 in) and to cover it with a TRANSITION WATERPROOFING MEMBRANE of 150 mm (6 in) centred on the ending. The TRANSITION WATERPROOFING MEMBRANE allows the installation of acrylic finishing coatings directly to the surface. When installed under a temperature of 10 °C or when specific conditions require it, fasten the upper termination mechanically every 30 cm (12 in) or with metal termination bar (see the anchoring diagram above).
When a TRANSITION WATERPROOFING MEMBRANE is not used, the end of the ICF FOUNDATION MEMBRANE should be sealed with a bead of mastic or polystyrene-compatible adhesive, such as CHEMLINK’s M-1, and must be completely covered with backfill.
RECOMMENDATIONS
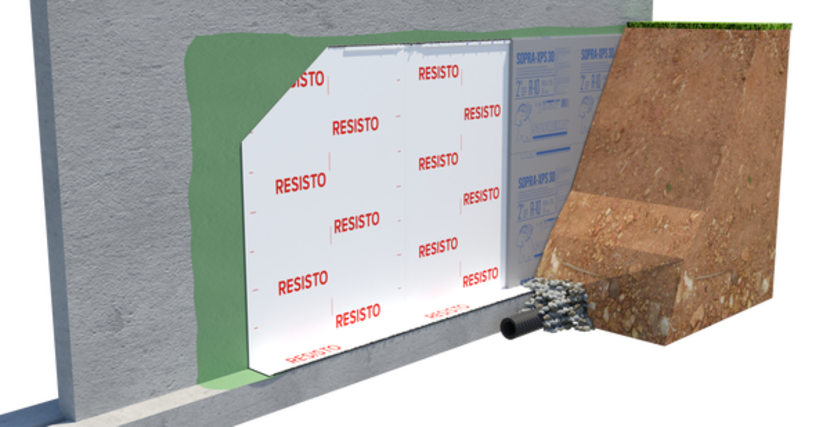
When backfilling, if the soil is rocky, it is strongly recommended to use sand as backfilling material or to install a protective panel (for example, polystyrene insulating panels such as SOPRA-XPS 30) around the foundation to avoid damaging the membrane. However, if the backfill is clay like, it is required to install a protective panel to ensure the integrity of the waterproofing system. When installing a protective panel, make sure that the products used are compatible with the waterproofing membrane.
Follow the recommendations of the building code in force in your region regarding backfilling in order to promote good drainage near your foundation towards the weeping tile.
This installation guide shows the minimum installation steps required for the RESISTO product presented above. Note that other steps may be necessary depending on the substrate. However, the procedure is subject to change. RESISTO reserves the right to modify documentation and procedures at any time. RESISTO cannot be held liable for installation defects. For more information, please contact your representative, RESISTO technical support, or your construction professional.
Document to download
Tick the checkbox to send PDFs as email attachments
-
Installation Guide for FoundationsInstallation Guide for Foundations pdf 922 KB